I just finished my biggest project to date—a 9-panel map of Providence and Narragansett Bay for a commission. I had expected that working in 15″ square panels wouldn’t be impossible, which was true, but it was still more unwieldy than I imagined, especially when I had them all up on my wall for a week! Here’s how the process worked:
I made a small pen and watercolor sketch of the area they wanted and split it into panels in Photoshop
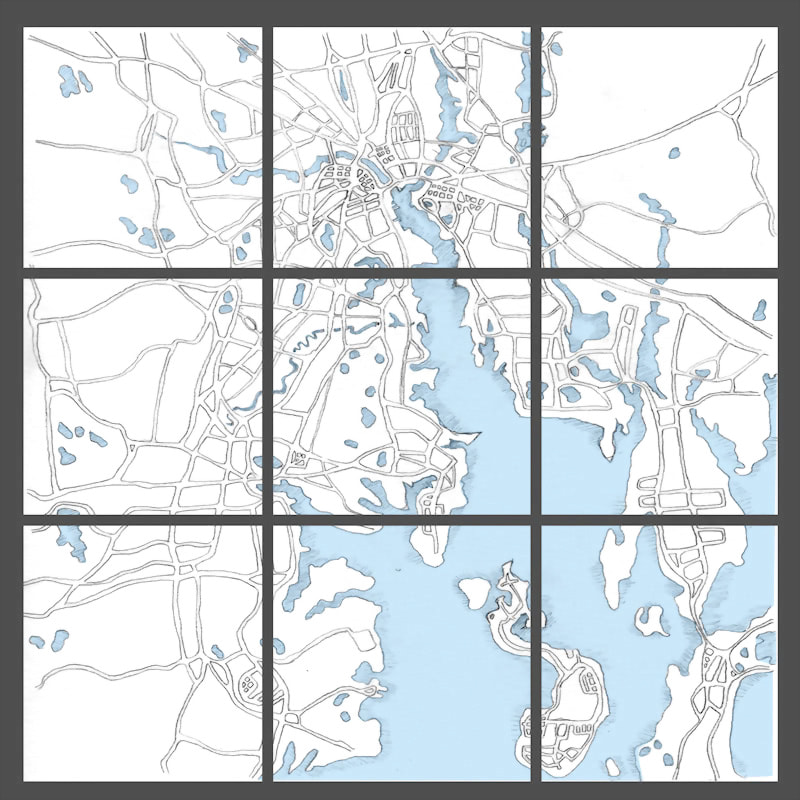
For the second round of sketches I added more detail. The water here is done with Photoshop fills since I didn’t have the time for watercolor, but I couldn’t stop thinking that it looked a little like a Dr Seuss illustration…
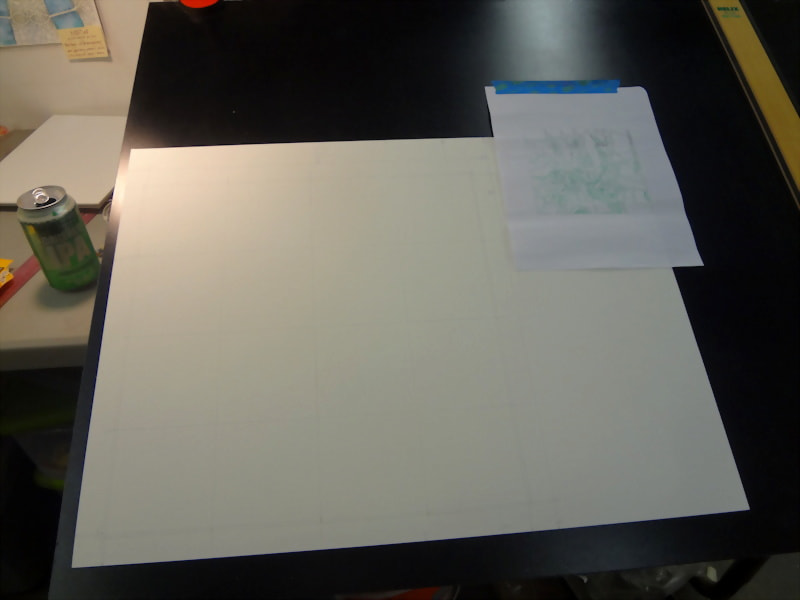
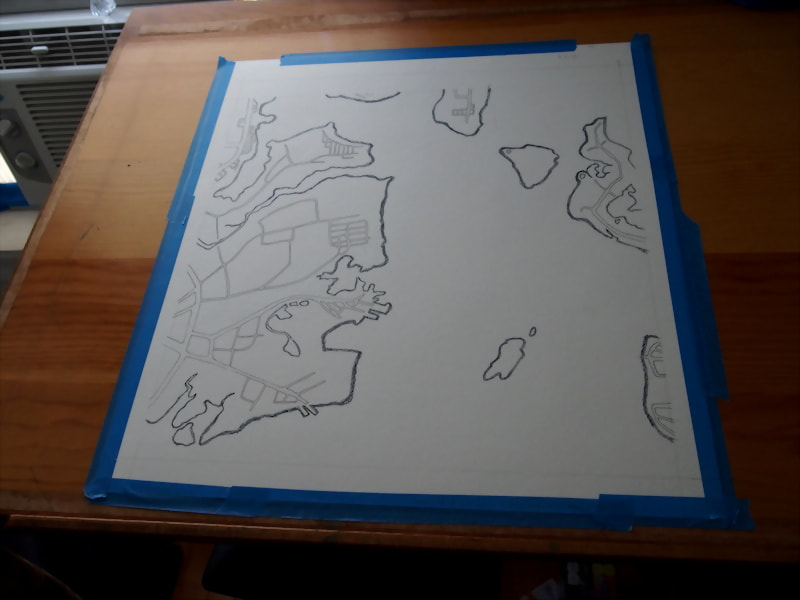
Once the sketch was approved I printed out each panel and started transferring the image to the full-scale watercolor paper. I traced out grids on 9 pieces of paper…
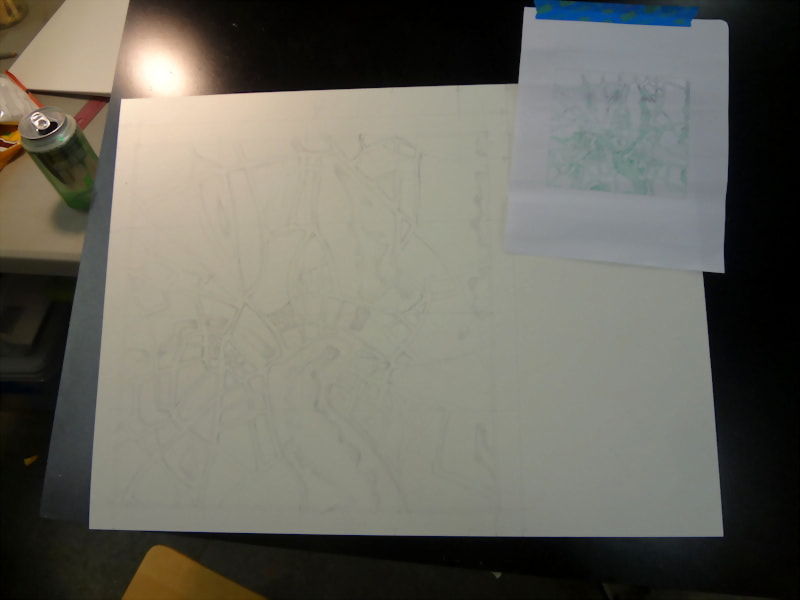
…then filled in the design from each panel, square by square. It takes a while but I actually found that since I’ve been doing so much sketching from life lately, transferring with the grid method has gotten easier; I’m more used to judging distances and negative space. It wasn’t quite like the grueling experience it was with the Indianapolis map…!
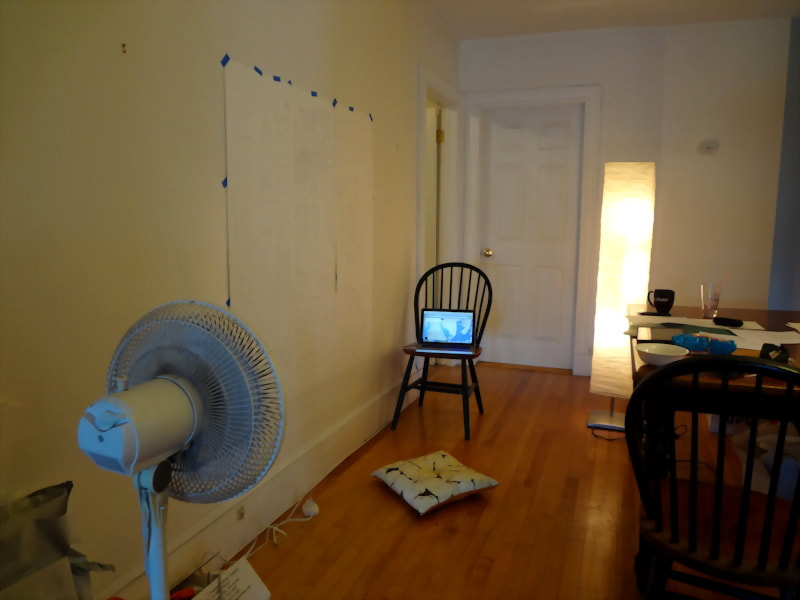
Once all the panels were pencilled, I took them home and set them up on my wall. Because I’m working from one panel at a time, I knew that some of the relationships between panels might be off, so I took some time to make sure the roads lined up and were scaled correctly. I also added a lot of detail along the shoreline and small roads, referring to Google maps a lot (thus the laptop on the chair).
Working on a project this big was really physical; I had to reposition myself constantly to work on the different panels on the wall, and I had to take a lot of breaks as my hand got tired!
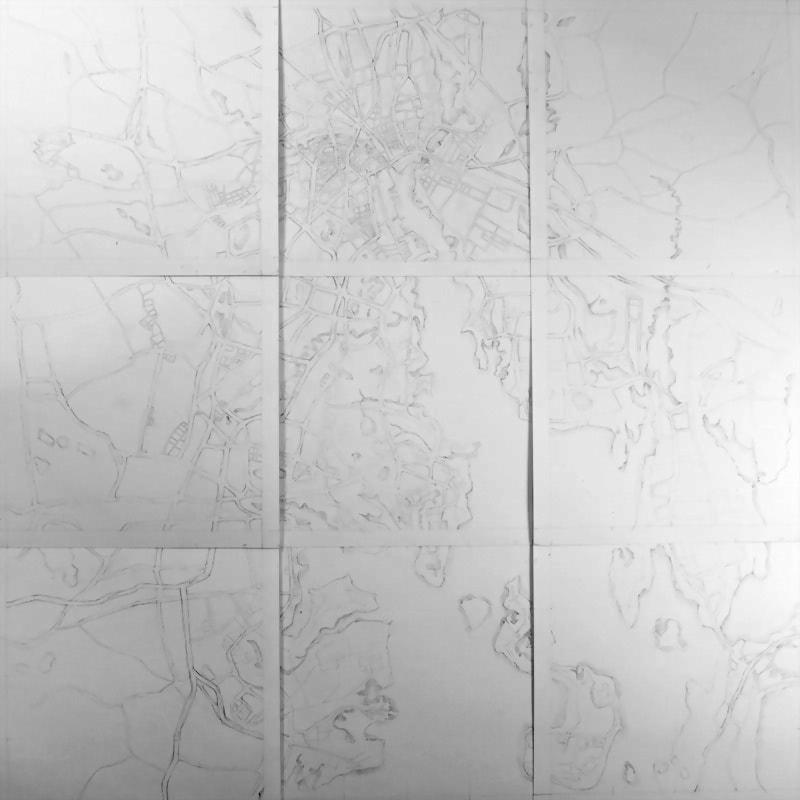
Here’s what the panels looked like all together with their final pencil detail! Once this was approved I was ready to ink and watercolor.
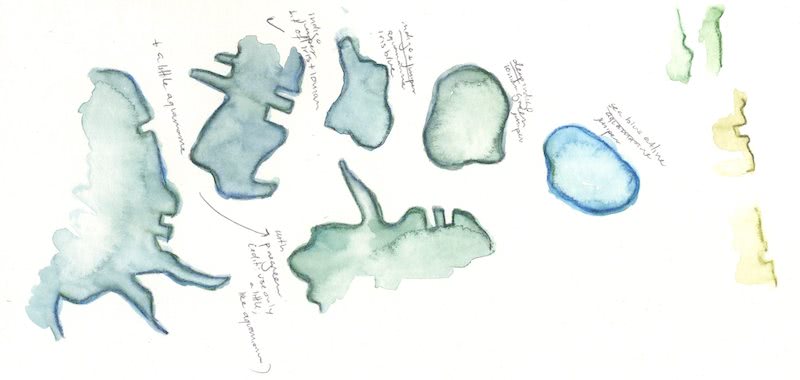
The watercolor was supposed to be similar to my Boston map, so I worked off a print of it to get the colors right. Here’s my color trials:
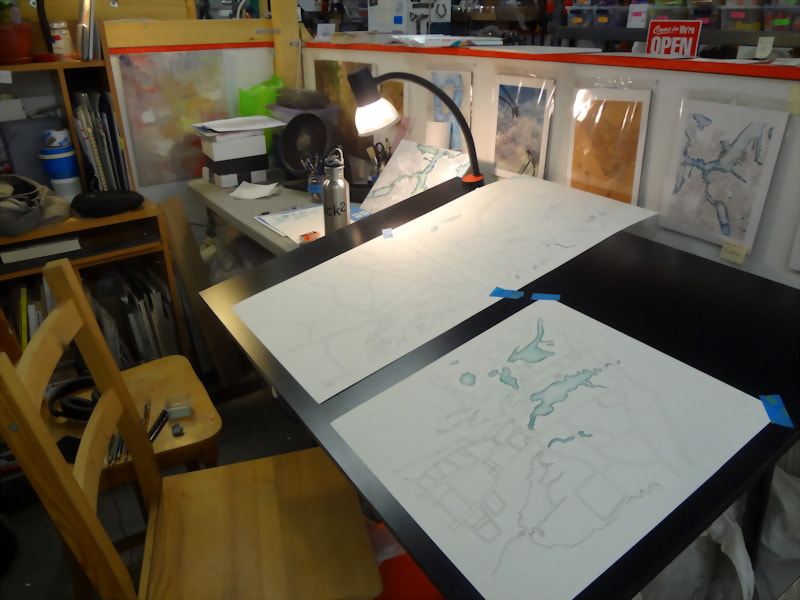
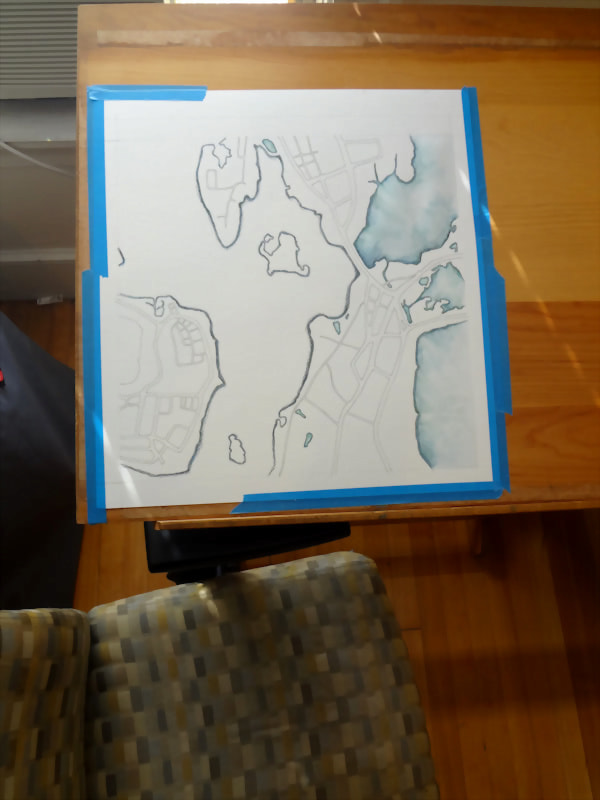
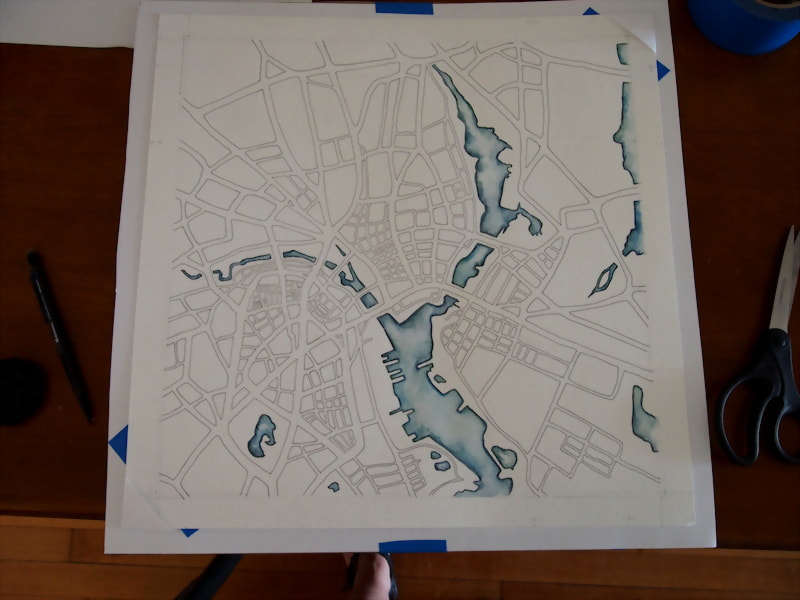
and that panel in progress:
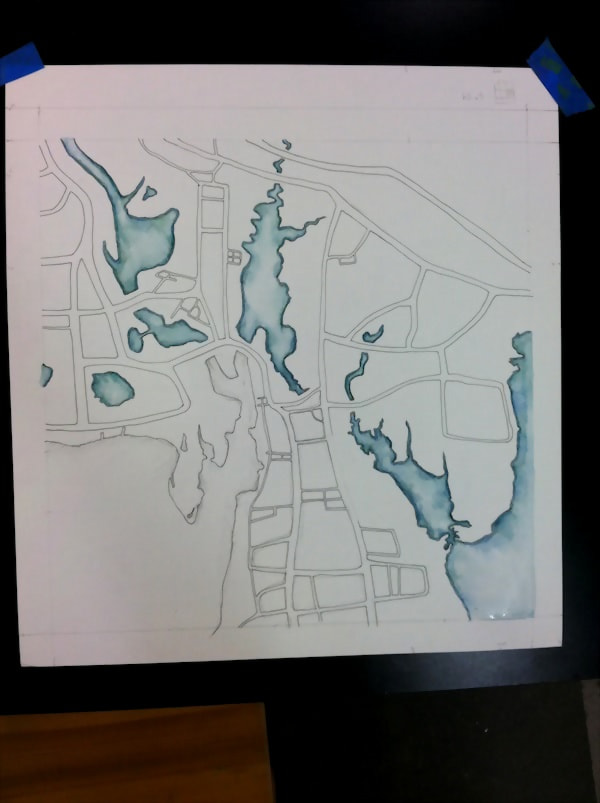
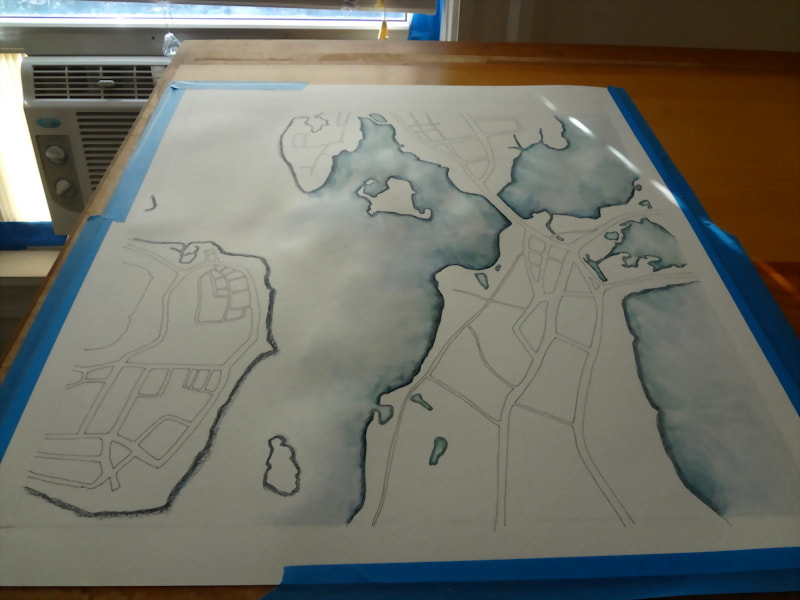
Some of the panels were really difficult, particularly the ones with wide areas of water that branched. All the pigment came from watercolor pencil around the shoreline, and it was tough to keep it all wet and avoid getting hard lines in the middle of the water.
It was also really bumpy with all that water!
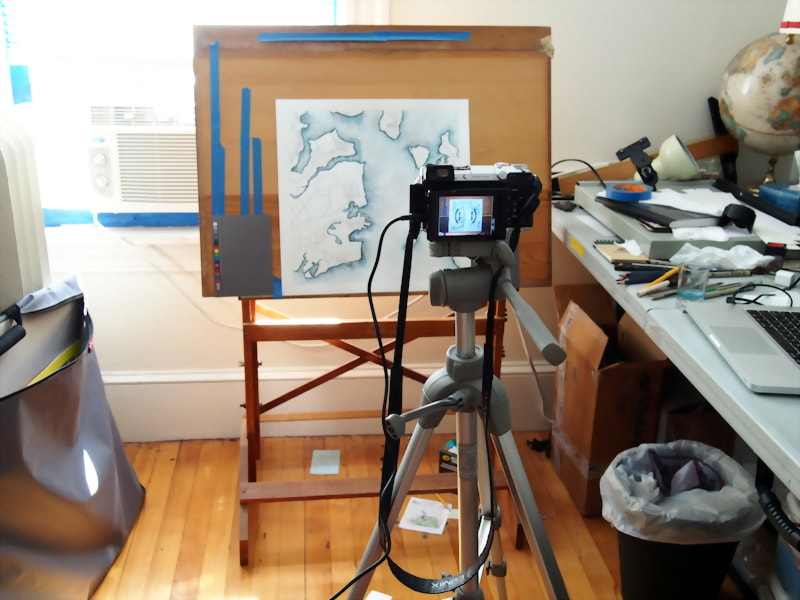
When they were all done we photographed each one and also scanned them
…and then they had to be packed! I ended up adhering each one to its own sheet of drawing paper, using photo corners I made from strips of paper. I stacked them all between cardboard and wrapped it in bubble, tape and more cardboard and shipped them in a box for protection.
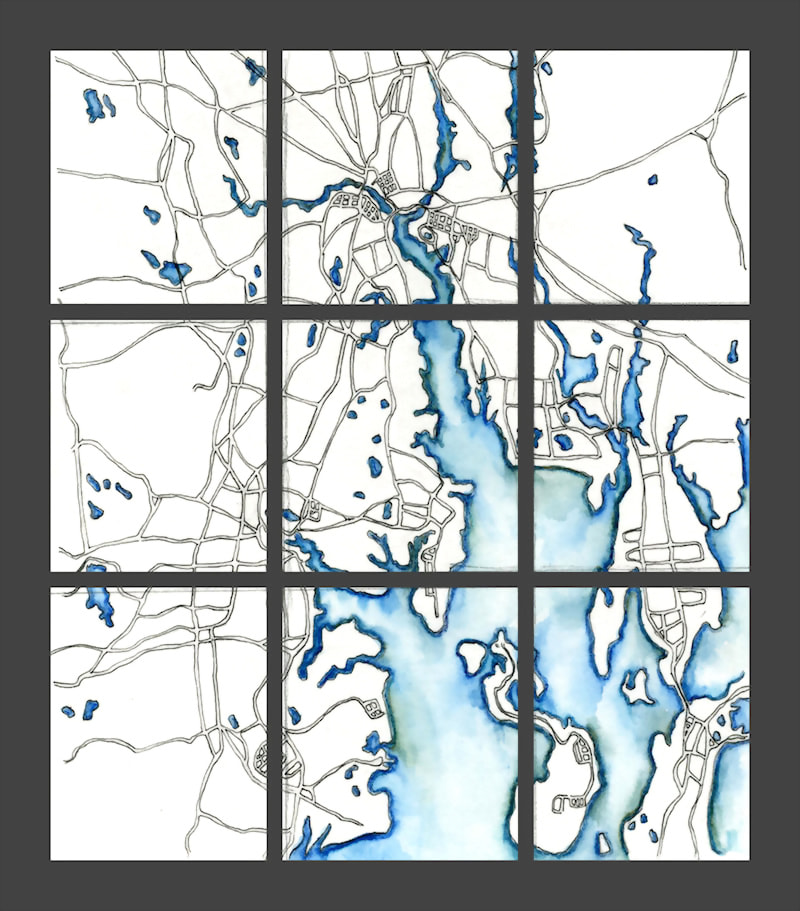
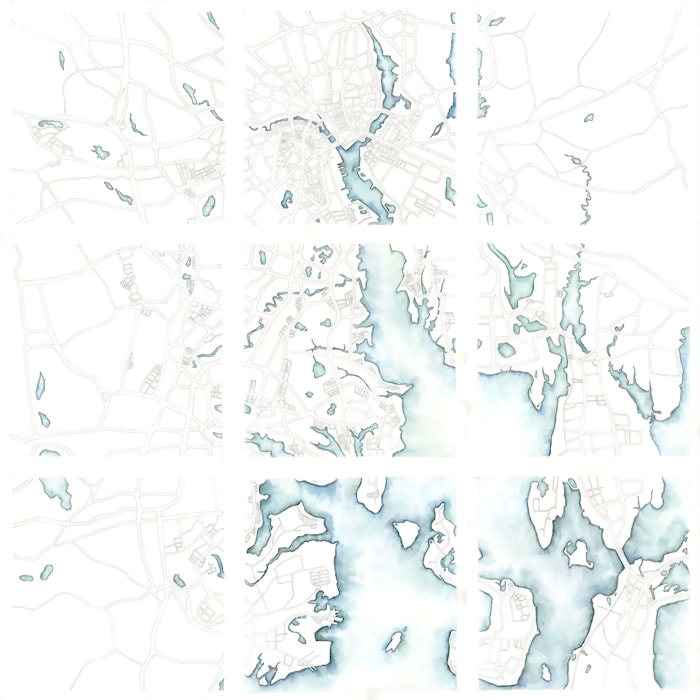
Here’s what all the panels look like together:
I can’t wait to see them installed someday!
FABULOUS! LOVE your work!!!